

(THIS IS A LONG POST AS IVE DONE A TUTORIAL SO JUST KEEP SCROLLING IF ITS ONLY THE PICS YOU WANT TO SEE)
OK here we go, DIY day 2. As you can see I tried the classic, every hippies dream, tie dye. I enlisted the help of my friend Joanna and Harry of course to give it a bash. We tried to get the dye yesterday but because of the bank holiday the haberdashery stores in my area were shut. Today we went to Pempertons and found some dye, we went for DYLON Antique Grey sachet and bag of the DYLON salt (it can be any salt but it was 60p and saved a trip to another shop) We went for grey black can be a bit harsh with dye so this was a great compromise the colour actually came out amazing, although we very nearly bought a gorgeous Forest Green...next time. We also got Tshirts from Primark, £2.50 (mans size L)
So lets begin...
You will need
DYLON dye (any colour)
Salt 250g
Measuring Jug
Gloves
Some kind of stirring stick
Big Bowl
Rubber Bands

SO moving on... get your TShirt/Leggings or whatever your dying and depending on what kind of tie dye you are going for depends on how you set out the rubber bands, make sure these bands are super tight to stop the dye running. There is a technique thats used on YouTube where you make a spiral but I wanted mine more random than that so decided to put the rubber bands anywhere and everywhere. Like below... (thats actually leggings and a Tshirt which is why it looks so big)

Next you need to wet the clothes you are tie dying so that the dye will stick. Even leave them to soak while you mix your dye (I wont tell you how to do that as its best to stick to the packet guidelines) once your clothes are nicely damp or in my case slightly soaked, give them a good old dunk in your bucket/basin of dye. We left ours bobbing around for a good half an hour giving it a stir every few to keep it moving, in the mean time we did some other dying fun but that will appear later in the week ;-) OOO THE SUSPENSE!!

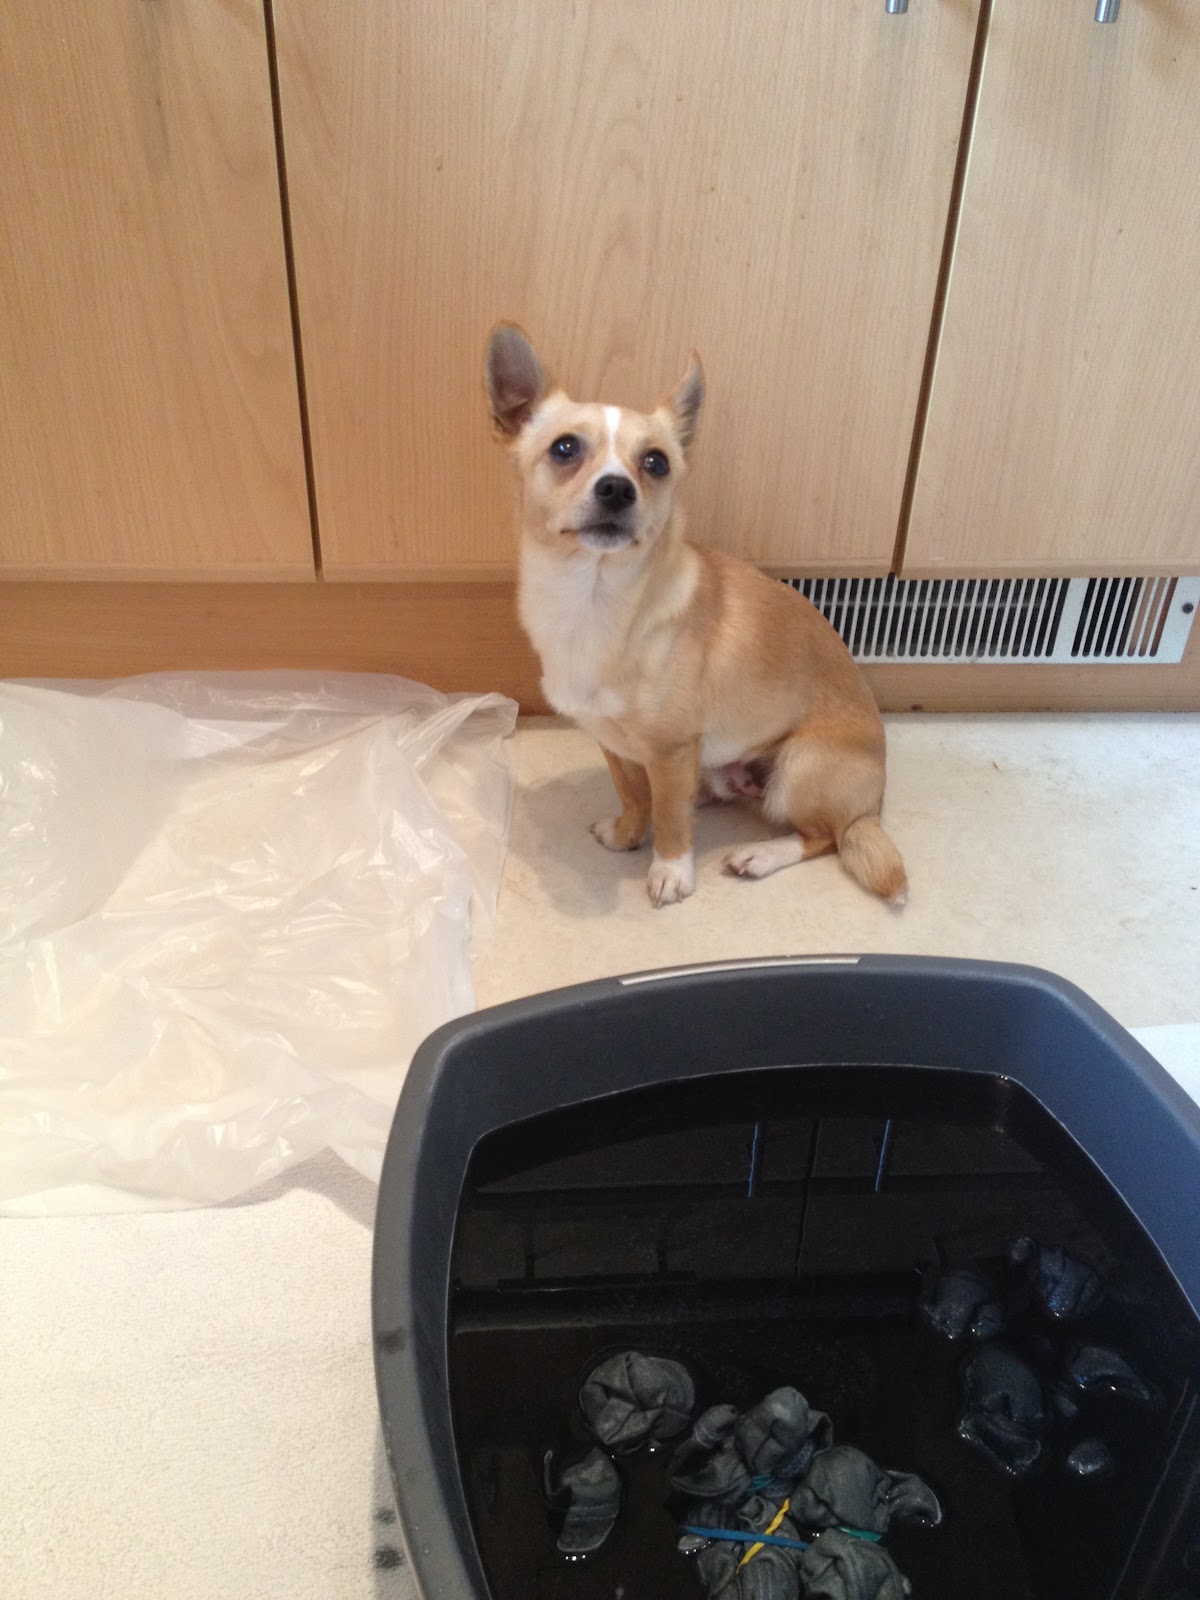
Harry was an awesome helper, he watched the clothes while we got on with some other fun DIY
Once the clothes (TShirt) have been soaking in the dye for your time stated (usually 30-45 mins) take them out and give them a really good rinse to get the majority of loose dye out, keep rinsing (kneading dough) until the water runs clear the carefully cut or unwrap the rubber bands. Chuck it in the wash for a quick, cold and delicate wash...

ET VIOLA look at the masterpiece you have made for less than £5, OH YEZ THATZ OW WE DOEZ ITZ.

Make me one!!! Xxxx
ReplyDeleteSo cool huh? Weel have a DIY night next pizza night ;-)
DeleteFohhhh sureee xxx
DeleteNice post and very good tie dying :) My dog is always tryign to help out with my posts and photos ha ha
ReplyDeleteTanesha x
www.tanesha-marie.blogspot.co.uk
Thanks :-)
DeleteHe always seems to pop up in pictures haha xx
These look so cool!
ReplyDeleteI really need to do my own tie dye! :)
x
I love this fabulous work!
ReplyDeleteThis is Director of Danae Ltd. who supply DYLON product in South KOREA.
And I would like to show your beautiful art work to the people through our official blog. ( blog.naver.com/dylonkorea )
Would you allow me to use your pictures for introducing your gorgeous knowhow to the people in South Korea?
These will be translated in Korean language, as well.
Also, the Link to your blog will be printed just beside your pictures.
I hope to hear a good news from you soon.
Kind Regards,
Jung Kwan, KIM
dylonkorea@naver.com